Eight Steps to Growing Great Garlic
Garlic is an easy plant to grow in your home vegetable garden. Just keep a few points in mind and follow the directions below.
Garlic likes:
- Well drained soil
- Full sun
- High organic matter in soil
- To be planted in the fall
Garlic doesn't like:
- Weed competition
- Tight spacing
- The same spot two years in a row
Step 1. Prepare your soil (September)
- Start weed free
- Add compost or manure
- Till or dig in to the top six inches of soil
- You may want to get your garlic now while local supplies are good
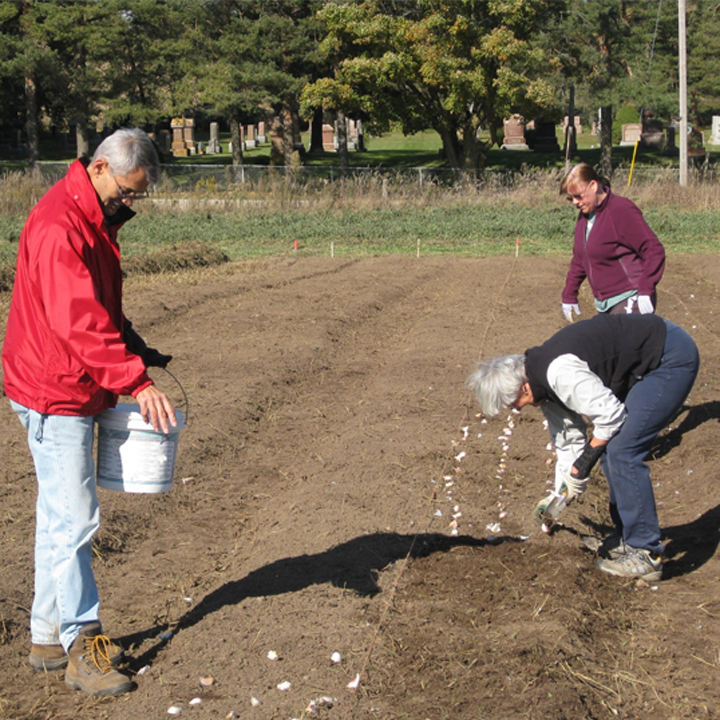
Step 2. Plant your garlic cloves (October)
- Buy or trade for some local garlic bulbs (LOVE garlic bulbs will work great). You want good size bulbs to start
- Split the bulbs into individual cloves. (Save any damaged or very small cloves for your next meal)
- Plant the cloves two to four inches deep and six to eight inches apart
- Should be planted four weeks before the ground freezes. We aim for early October (Thanksgiving weekend)
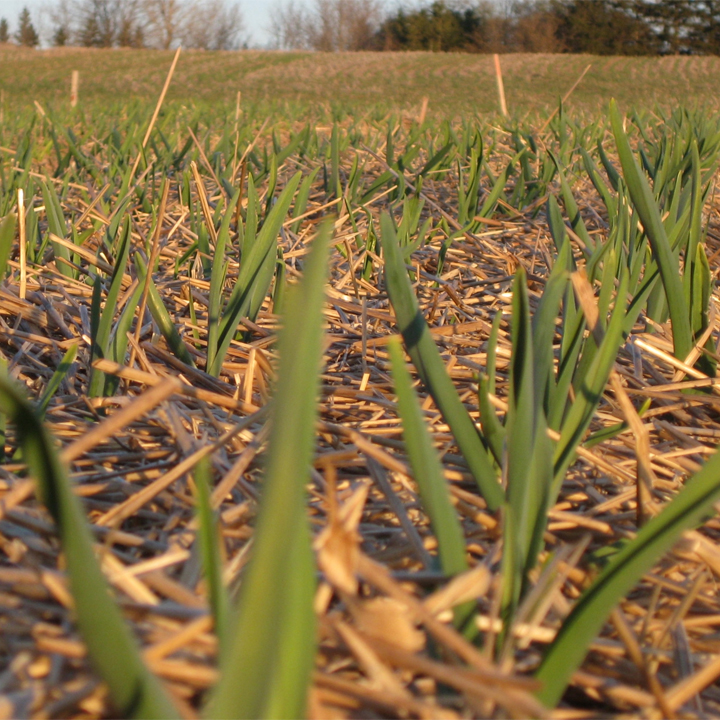
Step 3. Cover with mulch (October/November)
- Cover your cloves with two to four inches of straw, leaves or grass clippings
- This will help with weed control, prevent drying out and add some insulation
- As long as this is done before the snow stays you are fine
Step 4. Wait and watch (January - June)
- While your cloves sprout roots under the snow, grow through spring and reach full size in June
- Water if there is a long dry spell (two or more weeks) in May or June
- Pull any weeds that pop-up through the mulch
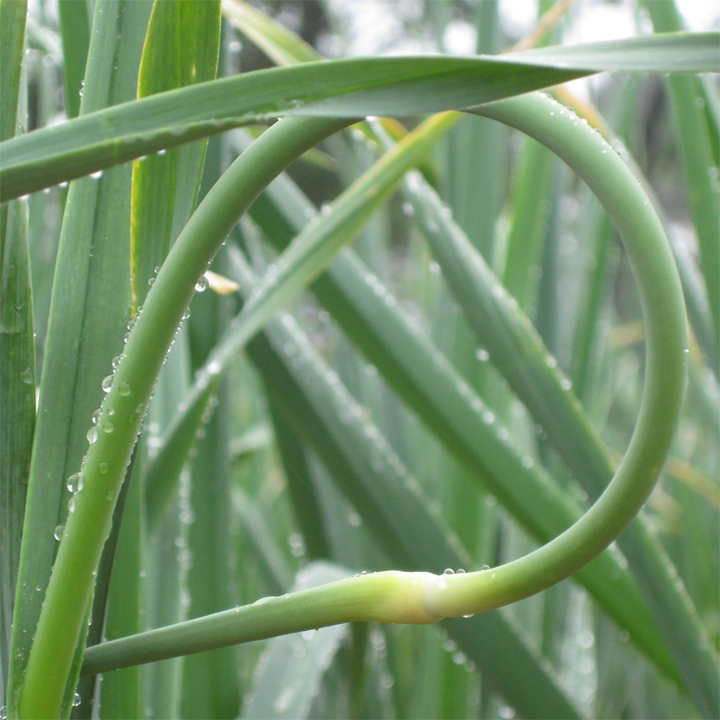
Step 5. Cut the scapes (around July 1st)
- Once the scape (flower stalk that sprouts in spring) curls once around, cut or snap it off
- Cook/fry/BBQ the scapes in any recipe as you would a green onion or asparagus – delicious! (hyperlink to the pest recipe)
- You can leave some scapes on to watch small seeds (actually clones) develop in a pod at the end of the scape. You will find the energy the plant uses to make scapes results in these plants having smaller garlic bulbs at harvest
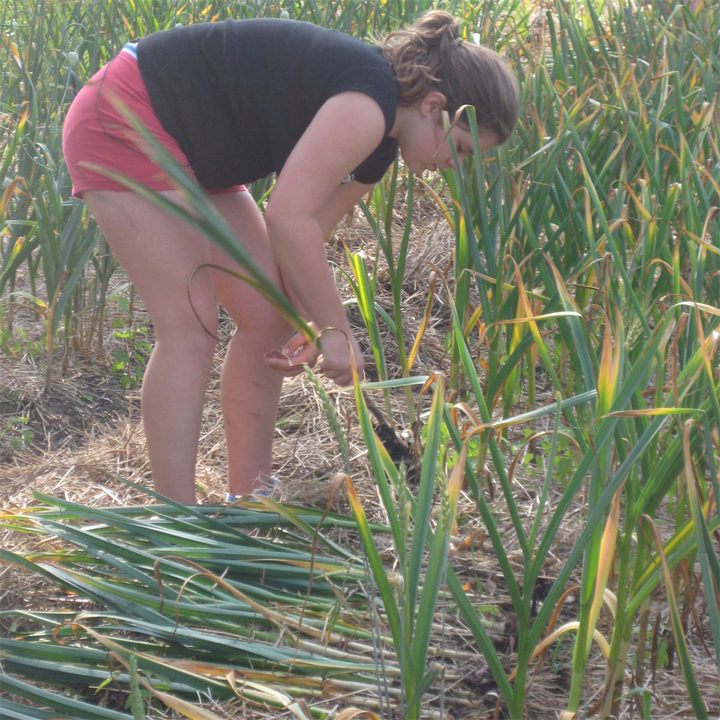
Step 6. Harvest (around August 1st)
- As the garlic matures in late July the bottom leaves will go brown from the ground up
- Once half the leaves are brown, dig up the garlic with a shovel or pitchfork
- Shake off loose soil, leaving roots and stems attached and bring in from the garden
- You can start to eat a few bulbs now, but they won't store well until dried
Step 7. Dry (2 weeks)
- Bring your garlic plants into an area with open air and out of the sun. A shed or covered porch works well
- Tie in bundles of 10 and HANG to dry, or LAY FLAT in a layer on any type of shelf that the air will flow through
- Once your plants have dried for a few days, try braiding some – this is a great way to store garlic (and a nice gift!)
- Leave for about two weeks until the stem is dry through when cut one inch above the bulb
- Trim the roots, cut the stems and store in a dry spot above 10C (50F). Inside a paper or mesh bag in the kitchen pantry works great
Step 8. Share and Enjoy (all fall and winter!)